Skylight Installation
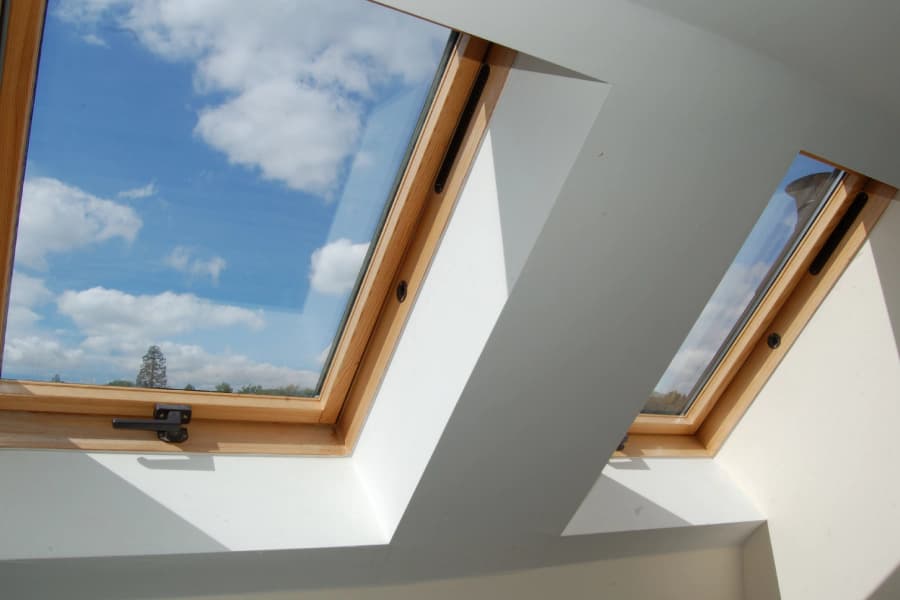
Skylights placed within a roof system using compatible flashing, underlayment, framing, and interior light-well planning.
See the condition before choosing the work.
ProBYLT evaluates the roof slope and interior location before developing a skylight installation or replacement scope.
The inspection connects visible symptoms with the surrounding roof or exterior assembly. Product details and installation requirements follow the selected specification.
Conditions worth a closer look.
These signs can point to wear, damage, drainage concerns, or a planned property update. An on-site review determines the relevant scope.
- An existing skylight shows seal, frame, glazing, or flashing wear
- Water marks appear around the skylight opening
- A room would benefit from planned daylight through the roof
- Roof replacement creates access for skylight work
- An older unit is ready for a compatible replacement
The surface carries connected details.
Explore the points where the covering meets the layers and transitions that manage water and airflow.
Ridge and exhaust
The ridge detail closes the roof peak. A designed exhaust path can release warm, moist attic air when the full ventilation plan calls for it.
A scope organized around the assembly.
- Roof and interior location review
- Skylight size, type, glazing, and control selection
- Opening and framing work included in the approved plan
- Underlayment integration around the curb or frame
- Manufacturer-compatible flashing for the roofing material
- Exterior water-shedding review after installation
Each stage confirms the next one.
The sequence can adjust to the property and the selected system. Visible decisions stay tied to the work they affect.

Choose the location
- 01
Choose the location
The survey considers roof slope, framing, interior ceiling shape, sun path, and nearby roof details.
- 02
Specify the unit
Size, operation, glazing, flashing kit, and interior scope are confirmed for the project.
- 03
Prepare the opening
Crews complete planned roof access and approved framing work before setting the unit.
- 04
Integrate the skylight
Underlayment and flashing connect the frame with the surrounding roofing assembly.
- 05
Check operation and details
The closeout reviews exterior water paths, unit operation, accessible interior work, and cleanup.
Useful answers before the inspection.
Can a skylight be replaced during roof work?
Roof replacement offers direct access to the surrounding flashing and underlayment. Coordinating both scopes can produce a cleaner roof integration.
What causes leaks around a skylight?
Possible sources include surrounding roofing, flashing, seals, condensation, or nearby roof transitions. Inspection helps trace the moisture path.
Which skylight type should I choose?
Room use, roof slope, ventilation goals, glazing, shade options, and control preferences shape the selection. The chosen unit must fit the roofing assembly.
Does skylight work include the interior ceiling?
Interior finish work depends on the existing opening and written proposal. New locations may need framing, a light well, insulation, drywall, and paint.
Keep related work in view.
Asphalt Roof Replacement
A complete asphalt roofing system planned around the deck, ventilation, flashing, and shingle profile.
Open serviceRoof Repair
Targeted roof repairs based on visible evidence and the water path through nearby materials.
Open serviceMetal Roof Replacement
A precisely detailed metal roof built around panel layout, fastening, ventilation, and water control.
Open serviceShow us what the property needs.
An inspection request gives the team a place to begin. Add the service, ZIP code, and the condition you have noticed.
Prefer a call? (470) 975-7337