
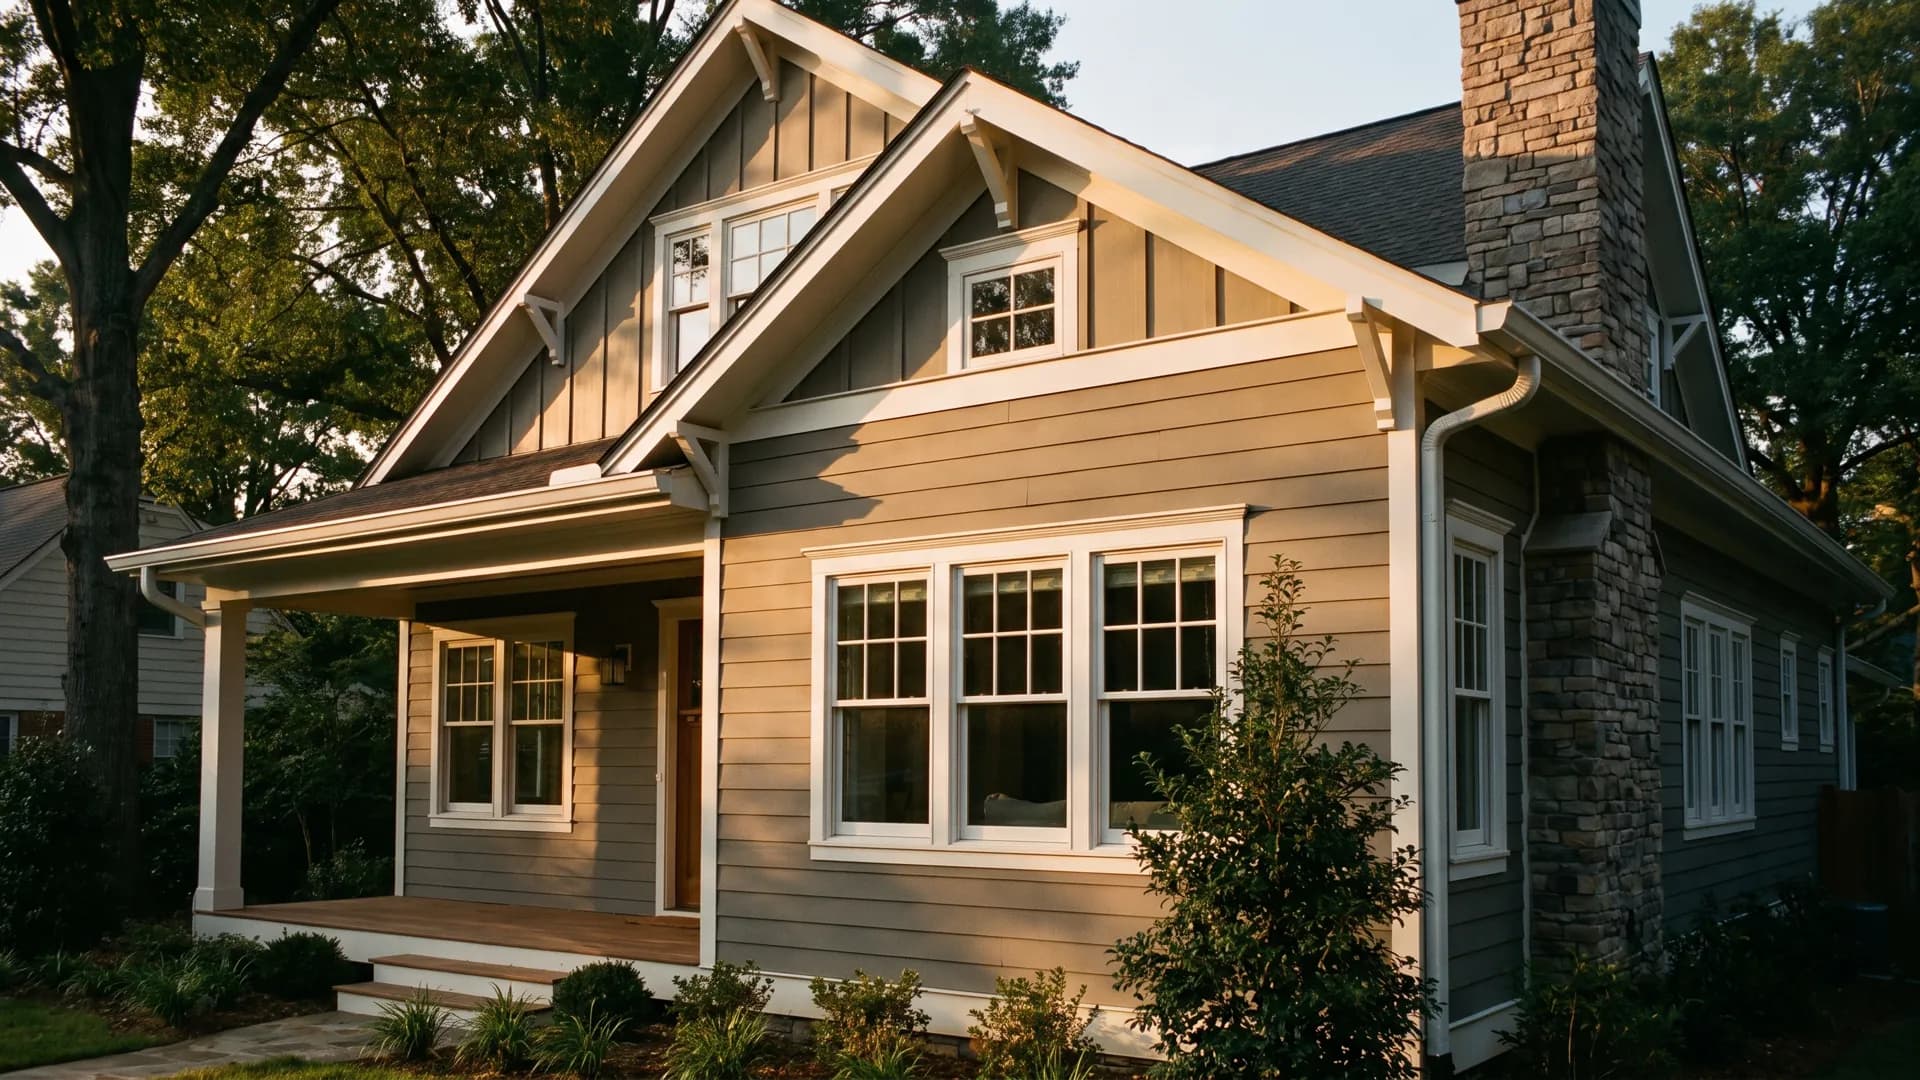
James Hardie Siding Installation
Fiber cement siding installed with planned clearances, flashing, fastening, trim, and joint details.
See the condition before choosing the work.
ProBYLT measures the exterior and develops a James Hardie siding scope around the wall assembly, openings, roof intersections, and selected profile.
The inspection connects visible symptoms with the surrounding roof or exterior assembly. Product details and installation requirements follow the selected specification.
Conditions worth a closer look.
These signs can point to wear, damage, drainage concerns, or a planned property update. An on-site review determines the relevant scope.
- Existing siding has widespread cracks, soft areas, open joints, or loose sections
- Repeated paint failure points to broader cladding wear
- Window and door transitions need a coordinated siding update
- An exterior redesign calls for fiber cement profiles
- Storm damage affects several wall elevations
Follow the connections around the work.
The field details change with the surface, access, selected products, and property conditions.
Follow the work across each meeting point.
The property review and selected specification determine how these parts connect during the service.
- 01Wall plane
- 02Openings
- 03Clearances
- 04Finish
A scope organized around the assembly.
- Wall measurements and siding layout
- Removal of cladding included in the approved scope
- Review of accessible sheathing and weather barrier
- Flashing details at openings and roof-to-wall transitions
- Fiber cement siding, trim, joints, and fastening
- Finish work and controlled site cleanup
Each stage confirms the next one.
The sequence can adjust to the property and the selected system. Visible decisions stay tied to the work they affect.

Survey each elevation
- 01
Survey each elevation
Measurements capture openings, corners, penetrations, trim, grade clearances, and roof connections.
- 02
Confirm the exterior design
Profile, exposure, color direction, trim treatment, and included elevations are set in the proposal.
- 03
Prepare the wall assembly
Crews remove scoped materials and address approved sheathing or weather-barrier work.
- 04
Install siding details
Fiber cement boards and accessories follow the selected product instructions and planned clearances.
- 05
Review the elevations
The final check covers joints, trim, penetrations, finish areas, and cleanup around the property.
Useful answers before the inspection.
What is James Hardie siding made from?
James Hardie products use fiber cement. The selected collection and profile determine dimensions, texture, finish, and installation requirements.
Why do siding clearances matter?
Specified space near roofs, paving, grade, and horizontal surfaces helps the wall system manage moisture. Product instructions define each clearance.
Can damaged sheathing be addressed during siding work?
Removal provides access to covered wall areas. The team documents visible sheathing concerns and presents supported repair work before new siding covers them.
Can I change the siding profile during replacement?
The planning stage can include lap exposure, panel areas, shingle accents, trim scale, and color direction. Product availability shapes the final selection.
Keep related work in view.
Cedar Shake Siding Installation
Cedar shake siding planned for natural variation, exposure, ventilation, flashing, and ongoing care.
Open serviceVinyl Siding Installation
Vinyl siding measured and installed for secure attachment, thermal movement, drainage, and clean trim lines.
Open serviceHouse Washing
Exterior washing adjusted to the siding material, surface condition, nearby landscaping, and drainage path.
Open serviceShow us what the property needs.
An inspection request gives the team a place to begin. Add the service, ZIP code, and the condition you have noticed.
Prefer a call? (470) 975-7337