01
Inspect the property
A roof specialist listens to the concern and records accessible roofing, exterior, drainage, and interior conditions tied to the project.
Step 01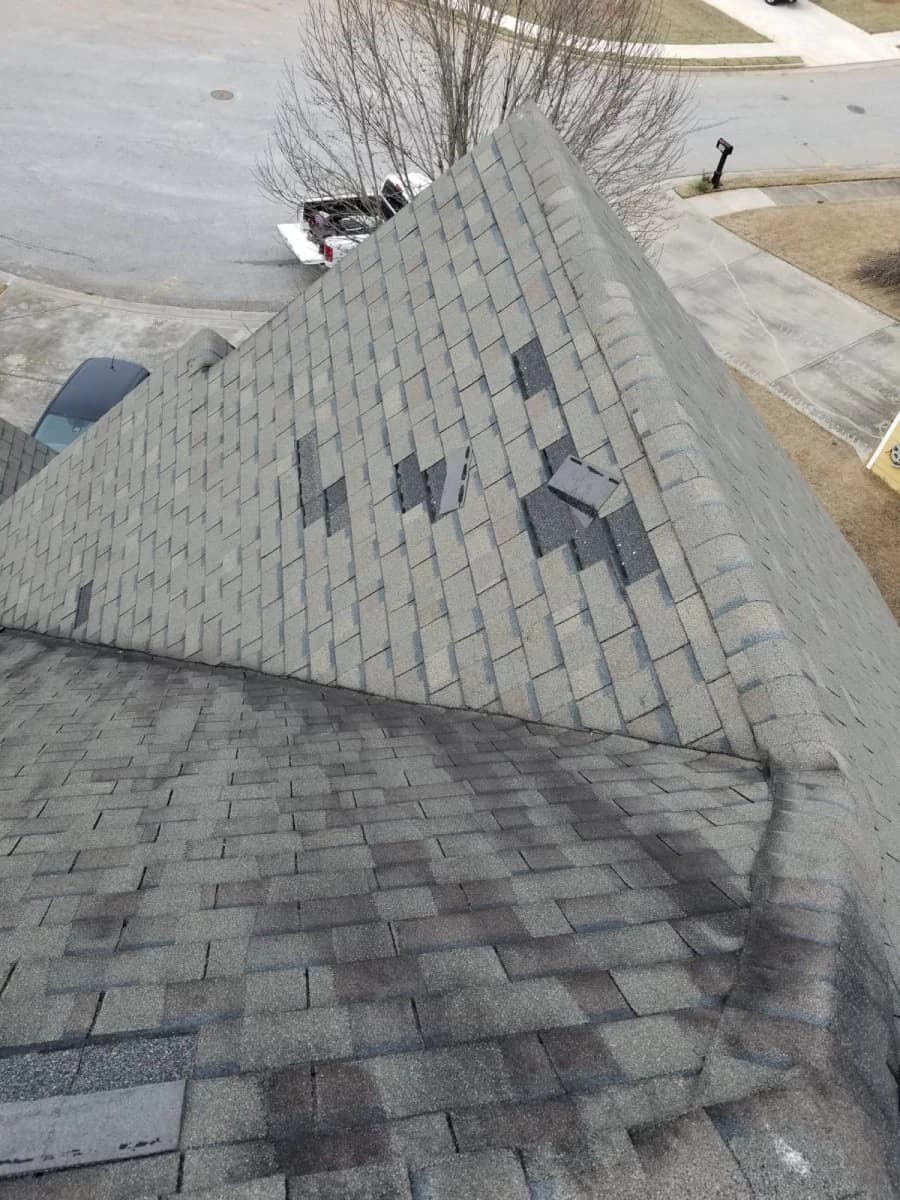
The process starts with the property condition and continues through a documented scope, careful preparation, installation, and closeout.
Each stage builds on conditions confirmed during the prior one. The structure keeps questions close to the decision they affect.
A roof specialist listens to the concern and records accessible roofing, exterior, drainage, and interior conditions tied to the project.
Step 01The proposal connects inspection findings with material choices, included components, site preparation, and the planned sequence of work.
Step 02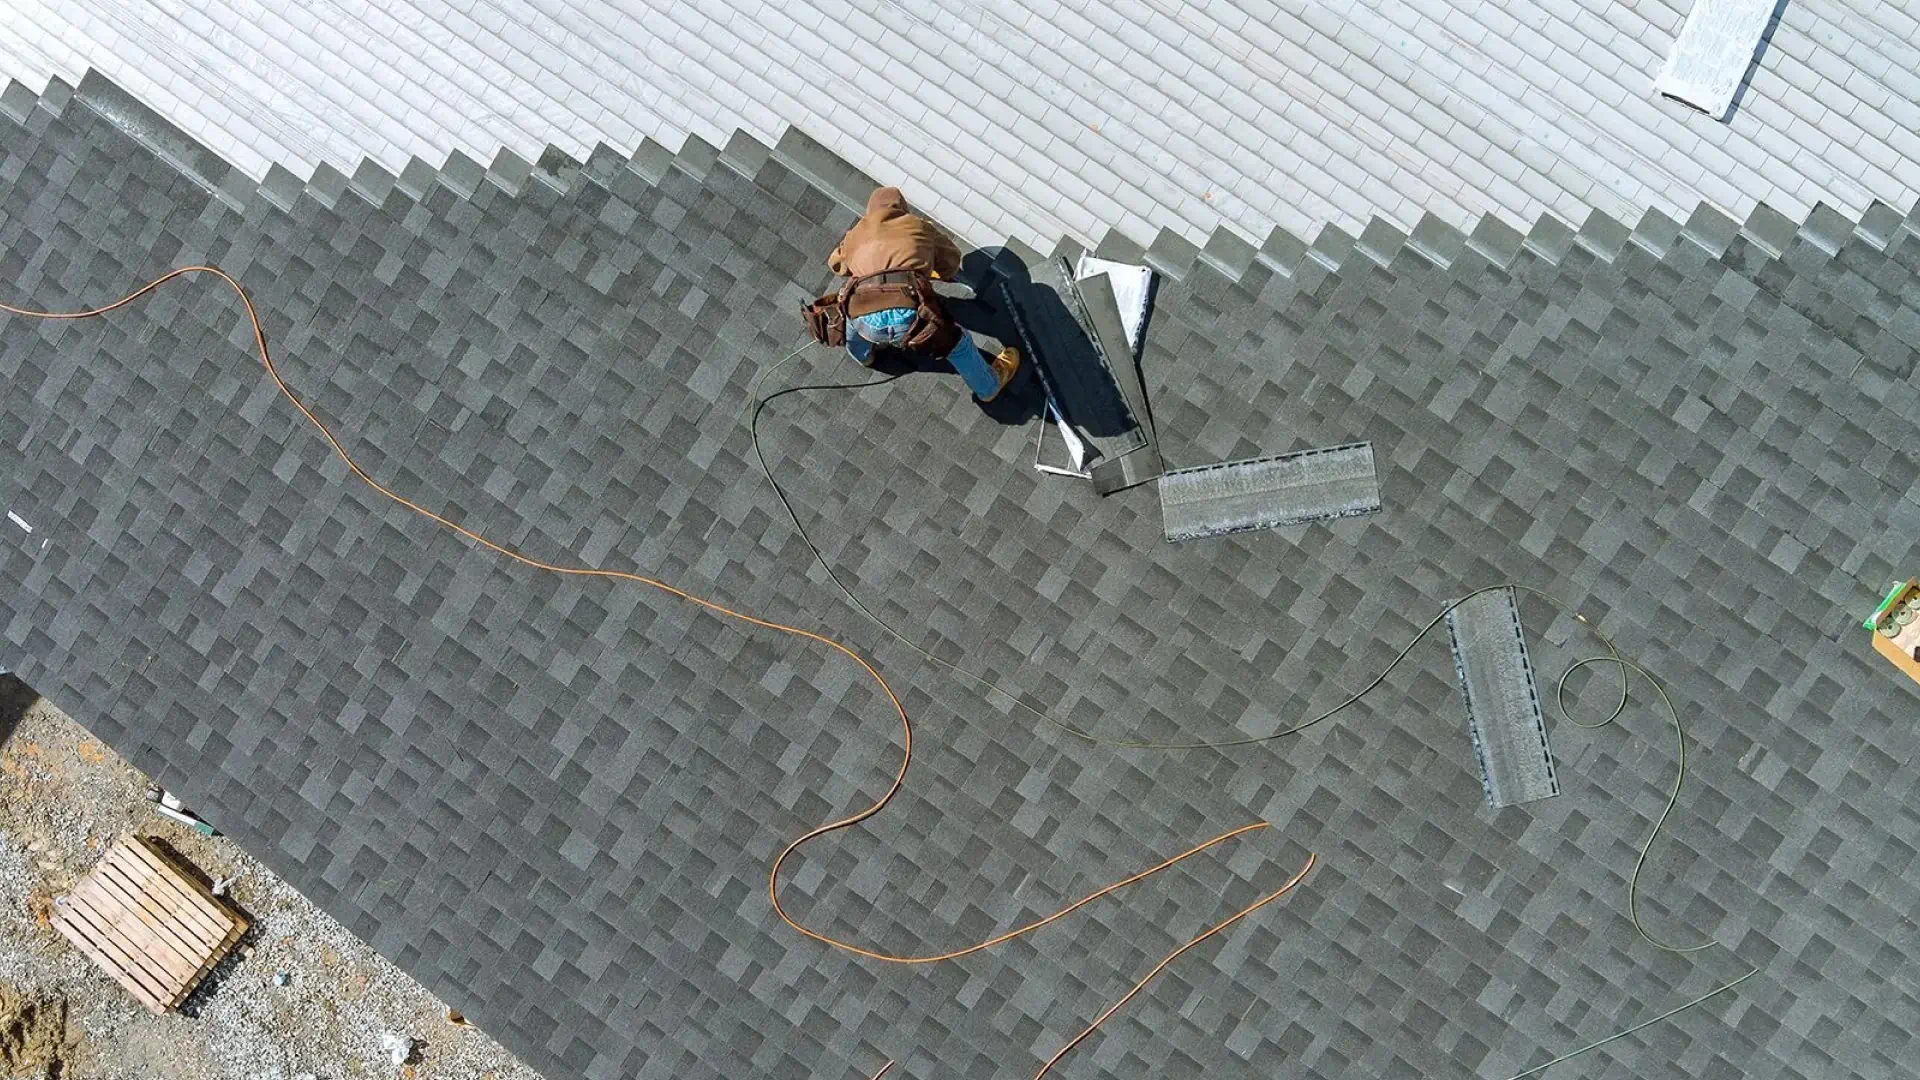
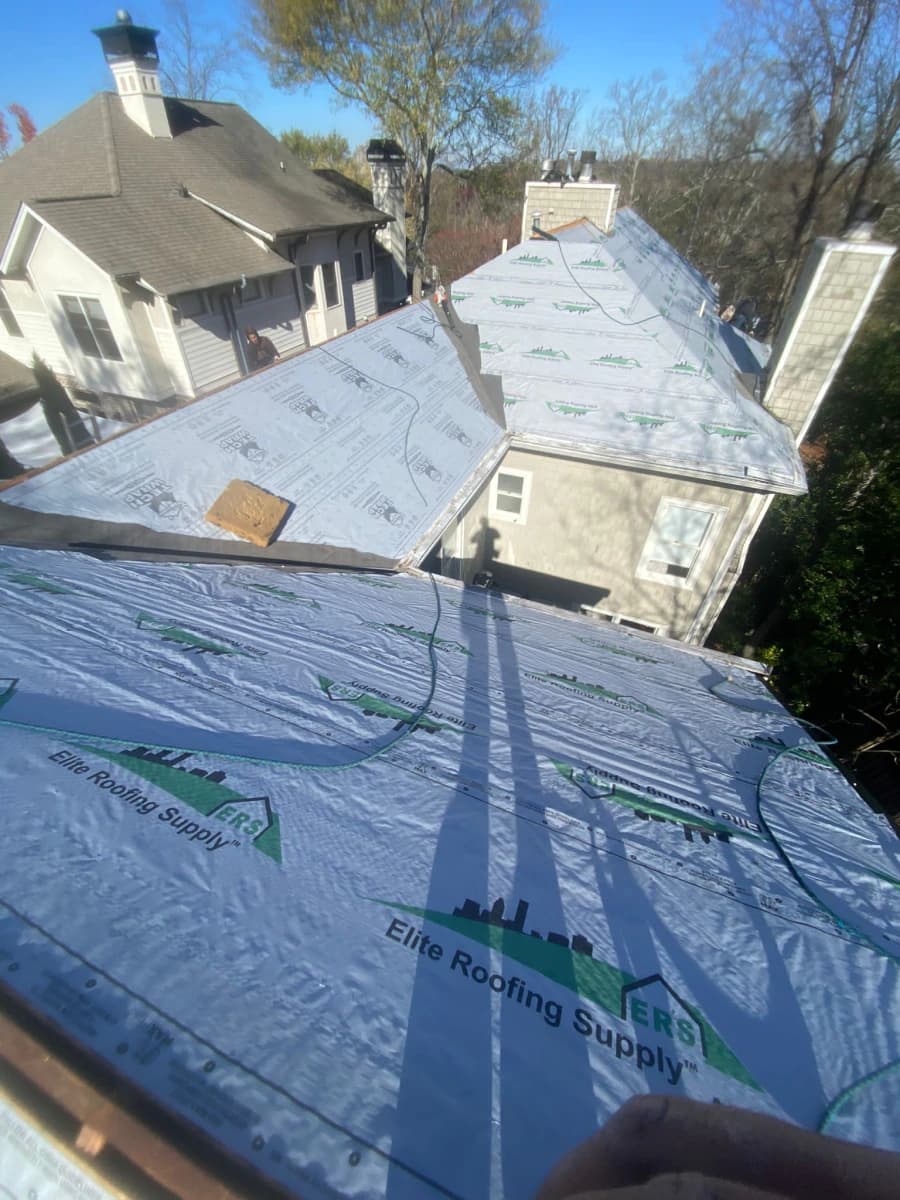
Crews organize access, delivery areas, debris handling, and protection around vulnerable parts of the property before production starts.
Step 03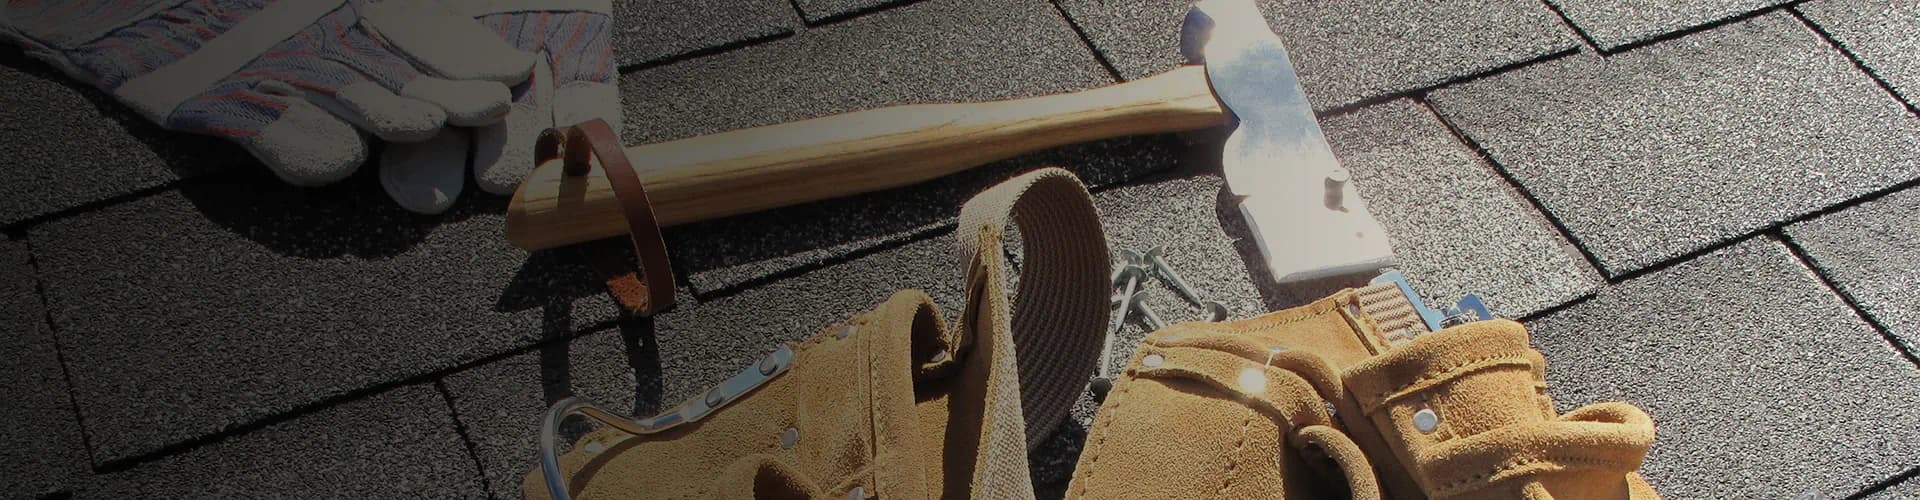
The team follows the approved layers and detail sequence while the project lead tracks field conditions and communicates supported changes.
Step 04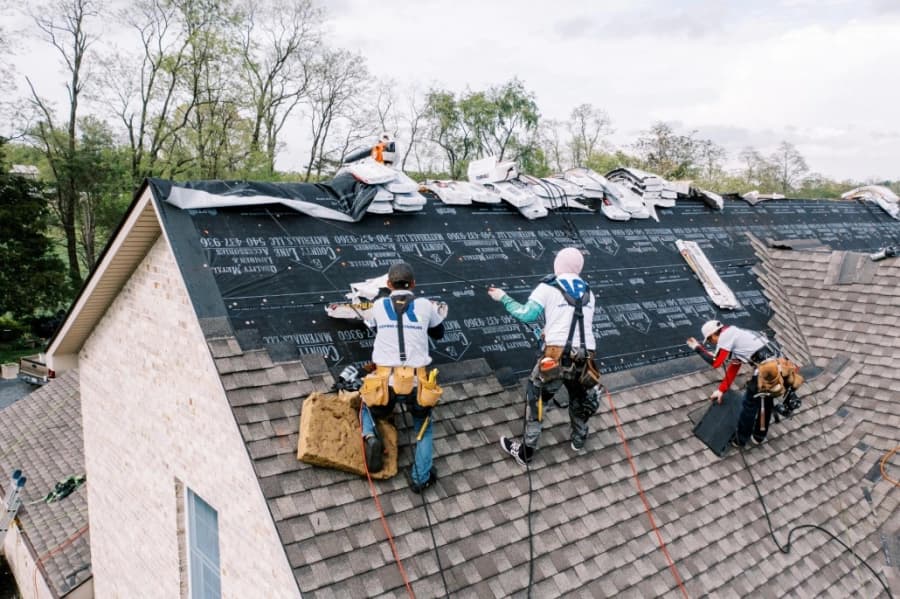
Final checks cover the written scope, visible finish details, system connections, operation where applicable, and cleanup around the work areas.
Step 05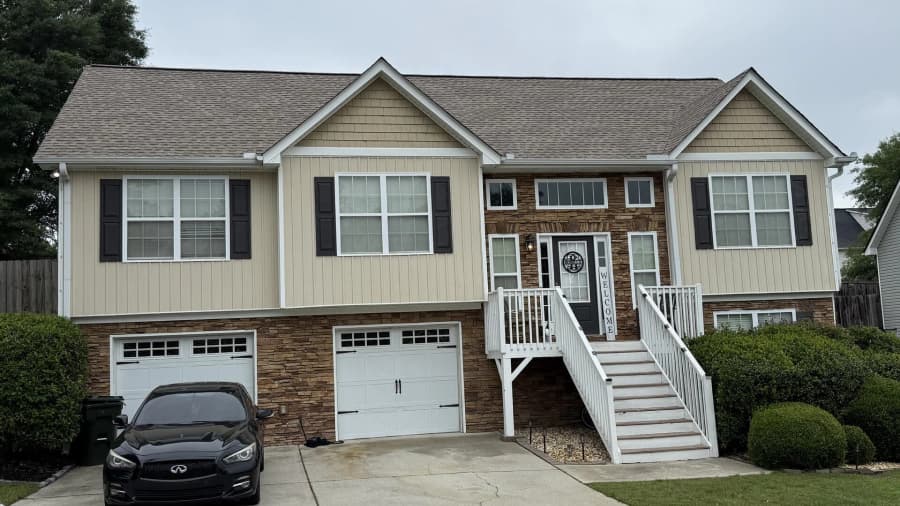
Use the component guide to see why flashing, underlayment, ventilation, and drainage receive attention during the roof conversation.
The ridge detail closes the roof peak. A designed exhaust path can release warm, moist attic air when the full ventilation plan calls for it.
An inspection request gives the team a place to begin. Add the service, ZIP code, and the condition you have noticed.
Prefer a call? (470) 975-7337