Roof Repair
Targeted roof repairs based on visible evidence and the water path through nearby materials.
See the condition before choosing the work.
ProBYLT traces the reported problem across the roof system, then explains a repair scope built around the source and the surrounding conditions.
The inspection connects visible symptoms with the surrounding roof or exterior assembly. Product details and installation requirements follow the selected specification.
Conditions worth a closer look.
These signs can point to wear, damage, drainage concerns, or a planned property update. An on-site review determines the relevant scope.
- Ceiling stains grow after rain
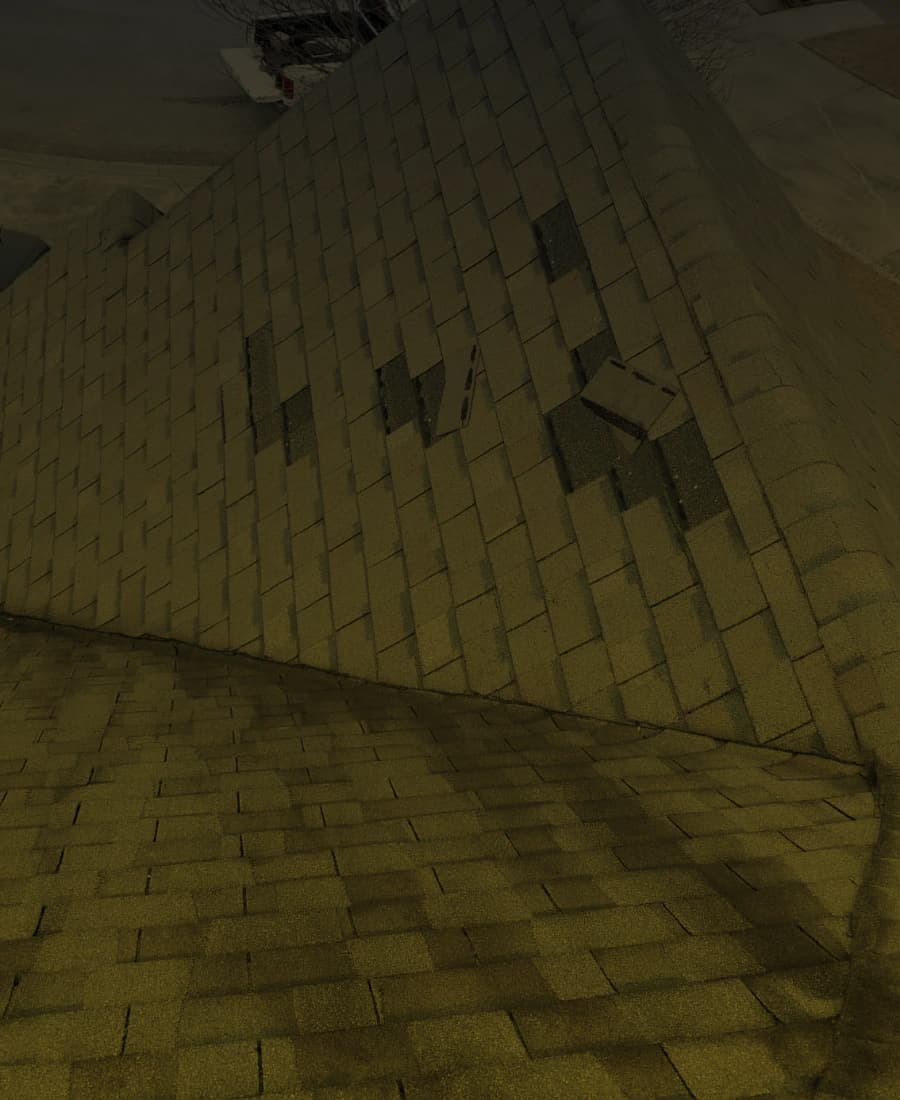
- Shingles or panels lift, crack, tear, or disappear after wind
- Flashing separates near a chimney, wall, skylight, or vent
- Pipe boots split around plumbing penetrations
- A roof valley or eave shows concentrated wear
The surface carries connected details.
Explore the points where the covering meets the layers and transitions that manage water and airflow.
Ridge and exhaust
The ridge detail closes the roof peak. A designed exhaust path can release warm, moist attic air when the full ventilation plan calls for it.
A scope organized around the assembly.
- Interior and exterior review of the reported problem
- Photo documentation of accessible roof conditions
- Removal of affected materials within the approved repair area
- Deck, underlayment, flashing, and covering repairs as scoped
- Sealant applied at the locations defined by the roofing detail
- Cleanup with a clear explanation of completed work
Each stage confirms the next one.
The sequence can adjust to the property and the selected system. Visible decisions stay tied to the work they affect.
Start with the symptom
- 01
Start with the symptom
The inspection begins where water or visible movement first appeared, with nearby damage included in the review.
- 02
Trace the source
A roof specialist studies nearby slopes and details because water can travel before entering the building.
- 03
Define the repair area
The proposal identifies affected components and explains any access needed beneath the surface material.
- 04
Complete the scoped work
Crews replace or reset the listed materials using compatible roofing details.
- 05
Record the result
Final photos and project notes show the repaired area and any conditions worth monitoring.
Useful answers before the inspection.
Can a roof leak be repaired?
Many localized leaks support a focused repair. The source, material condition, deck access, and nearby wear determine the practical scope.
Why can a ceiling stain appear away from the roof damage?
Water can follow decking, framing, fasteners, or insulation before it reaches the ceiling. Careful tracing helps locate the entry point.
What should I do when water is entering now?
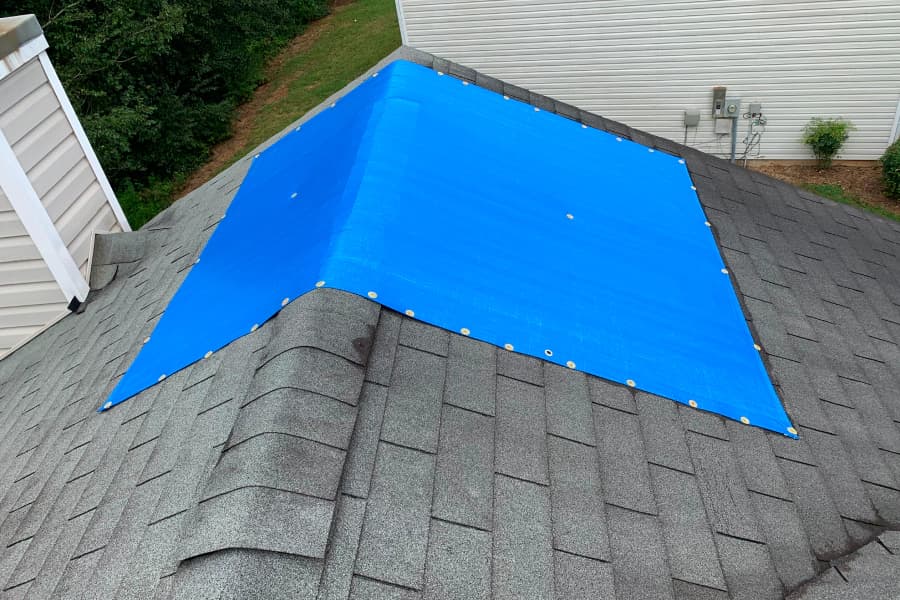
Move belongings away from the affected area and collect active drips when it is safe. Call ProBYLT so the team can discuss inspection and temporary protection.
Will a repair match the existing roof?
The crew seeks the closest compatible material available. Sun exposure and product changes can leave a visible color difference after the repair.
Keep related work in view.
Asphalt Roof Replacement
A complete asphalt roofing system planned around the deck, ventilation, flashing, and shingle profile.
Open serviceStorm Damage Roof Restoration
A documented response to wind, hail, debris impact, and storm-driven water around the roof system.
Open serviceRoof Insurance Claim Assistance
Roof condition documentation and repair estimates organized for a property insurance claim.
Open serviceShow us what the property needs.
An inspection request gives the team a place to begin. Add the service, ZIP code, and the condition you have noticed.
Prefer a call? (470) 975-7337